vSphere 5.5 Host Upgrade using vSphere Update Manager (VUM)
I am currently going through and upgrading all of my lab environment components to vSphere 5.5 so I figured I would capture a few things as I have been going through this. I installed the vCSA (vCenter Server Appliance) 5.5 a few days ago and finally got around to migrating my hosts over from the Windows vCenter Server 5.1 to the vCSA 5.5 (read here). So now the next step was getting my hosts upgraded from 5.1 to 5.5 and I wanted to use the vSphere Update Manager (VUM) for this. This is a great way to upgrade your vSphere hosts if you have never used it before by the way. Now seeing as I went with the vCSA (vCenter Server Appliance) I had to deploy the VUM bits onto a Windows server as there is not a VUM solution for Linux and not able to be installed onto the vCSA. So once I had installed VUM on an existing Windows server and integrated the VUM plugin into my vCSA I was ready to proceed.
I will be using the viClient for this but in vSphere 5.5 VUM also integrates into the vCenter webUI.
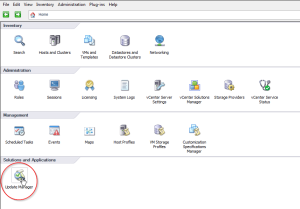
After enabling the VUM plugin I now have the icon visible in my home screen. Start by selecting the Update Manager icon.
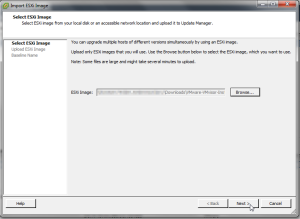
In order to add an ISO image you must right click in this view and select Import ESXi Image.

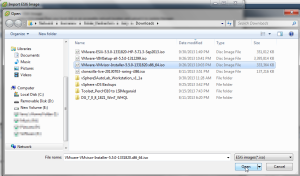
Now browse to the location that you saved your ESXi 5.5 ISO image and select it. In my case I am using an HP specific ESXi 5.5 ISO.
Now click Next…
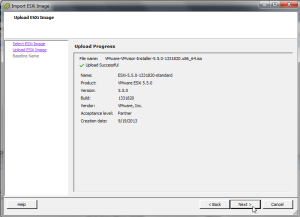
You will now see a progress bar of the ISO being uploaded. Now wait for this to complete.
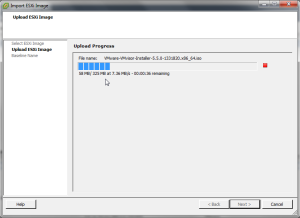
Once the ISO upload completes select Next..
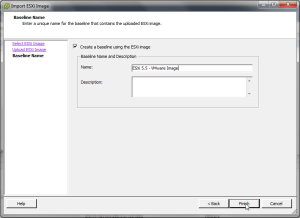
Now give this image a name that is descriptive enough so you know which image this is for.
You will now see your new ISO image in the inventory screen.

Now switch over to Update Manager view for a Datacenter/Cluster/Host or whichever you choose and scan for updates.
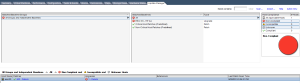
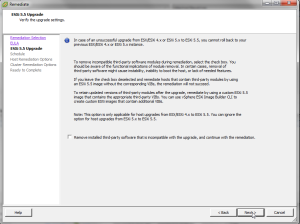
Now right click one of your hosts and remediate and then select UpgradeBaselines and select your ISO image that you just uploaded.

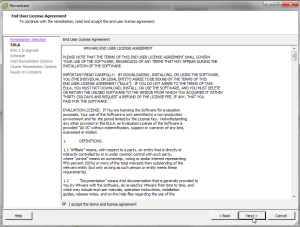
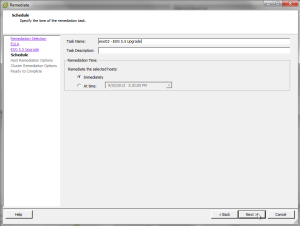
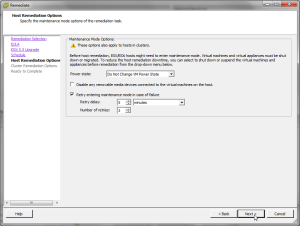
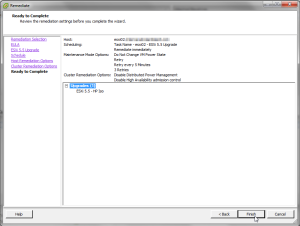
Follow through the next few screens and select the options appropriate for your environment.
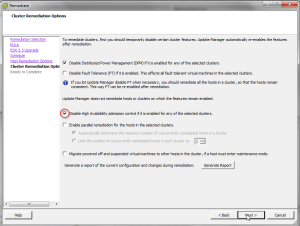
Depending on your cluster capacity you may want to disable High Availability Admission Control.
Now click finish and sit back and wait for the upgrade to automatically run and complete.
All done. As you can see ESXi 5.5.0 is now running on the host that was just upgraded.

Now you can proceed on to your other hosts that you want to upgrade using this same process. As you can see this is a very easy automated way of upgrading your hosts to the latest version of ESXi.
Enjoy!
Comments