vSphere 5.1 AutoDeploy
In this guide we will be installing, configuring and using the AutoDeploy feature of vSphere 5.1. This is a great feature to use when you need to deploy many hosts and do not want to configure a local disk to actually load ESXi on.
So let’s get started…
Install vCenter Server 5.1 (Reference for doing this install is here.)
Download and install PowerCLI 5.1 from here.
After the install completes launch the PowerCLI shortcut created on the desktop (If you are using Windows 7 you will need to right click on the shortcut and select run as administrator) and enter the following to get rid of the error on the first launch so you will be able to use the cmdlets. “Set-ExecutionPolicy RemoteSigned”
Now install AutoDeploy from vCenter Server 5.1 ISO or other media that you are using.
Here are some screeshots of the installation process.
Install vSphere ESXi Dump Collector. This will be used for our autodeploy hosts to send core dumps to. This will be configured within our host profile to point back to. If it is not working you will get an alert on the summary tab of your host inside viclient.
Here are some screenshots of the installation.
You will now have a new icon in your viClient on the home page. It is called VMware ESXi Dump Collector.
We will need to configure our hosts to use this service once we have a host profile created. The method I used is further down in this guide. More info can be found here.
Install VMware vSphere Syslog Collector. This will be used for our hosts to send their logs to.
Use vCenter Integrated. This will add a new icon in VIclient home called Network Syslog Collector. We will be using this service to send our syslog data from our hosts.
Here are some screenshots of the installation.
Install the TFTP Server. I am using the one from here. This is the free TFTP Server from Solarwinds.
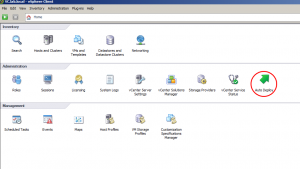
Now launch VIclient and click home and click Auto Deploy
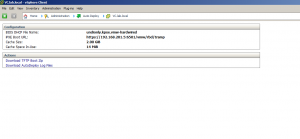
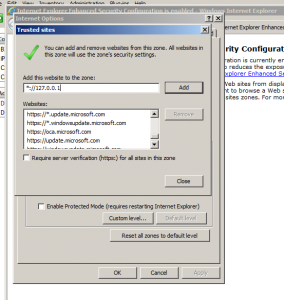
You will now need to open IE and add *://127.0.0.1 to the trusted sites zone to allow us to download the boot zip.
Now click Download TFTP Boot Zip and save it into c:\TFTP-Root. This folder was created by installing the TFTP Server from above. Now extract the contents of the file in the root of this folder.
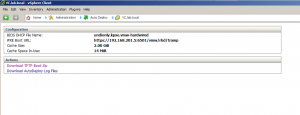
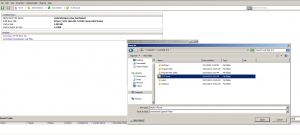
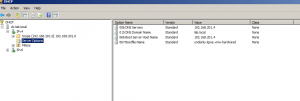
Now we need to configure the DHCP options for TFTP Boot to work. I am using MS DHCP on the Domain Controller in this lab so we will be configuring that. The options we will be configuring at #66 and #67. For Option #66 enter the IP address of your vCenter Server that is running the TFTP Server and for option #67 enter the following “undionly.kpxe.vmw-hardwired”, without quotes. This information is located on your AutoDeploy screen from within the VIclient.
Download VMware-ESXi-5.1.0-799733-depot.zip from VMware’s website.
Create a folder c:\Depot and move the file downloaded above to here.
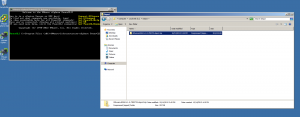
Now launch PowerCLI and enter connect-viserver .
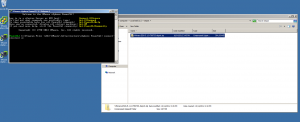
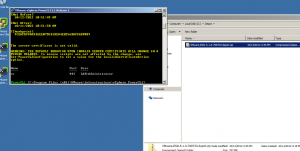
Now we are going to add the depot package from above.
Run this command in the PowerCLI window Add-EsxSoftwareDepot c:\Depot\VMware-ESXi-5.1.0-799733-depot.zip
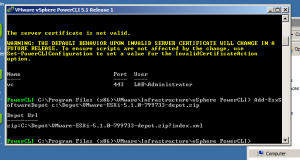
Now run Get-EsxImageProfile to list the image profiles. (Still within PowerCLI)
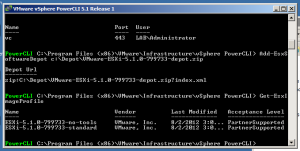
We will use the standard Profile which includes vmware tools in the image.
Now run the following command New-DeployRule –Name “FirstTimeBoot” --Item “ESXi-5.1.0-799733-standard” –Pattern “model=VMware Virtual Platform”
This is going to create an image pattern to recognize Hosts that run in VMware Workstation, which is what my lab is using.
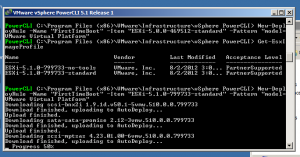
Once this process completes run the following command Add-DeployRule -DeployRule FirstTimeBoot (We will use this initial deploy rule to create our host profile)
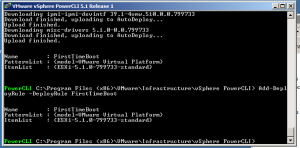
You are now ready to boot your ESXi Hosts via TFTP.
Here is what the hosts look like when booting from AutoDeploy.
Once the hosts boot up they will automatically be added to vCenter. But we now need to create host profiles now to get applied to the new hosts.
Configure your first host with all networking, storage, ntp, syslog server, dns and etc. before creating the host profile. These will be the settings that you want to be consistent across your hosts in the cluster.
From the home screen in vCenter go to Host Profiles.
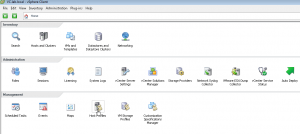
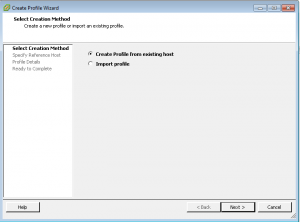
Click Create Profile and Select Create Profile from existing host.
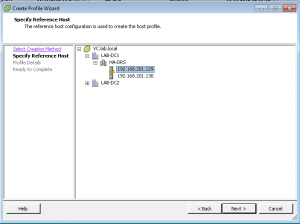
Now select the host you want to create the profile from.
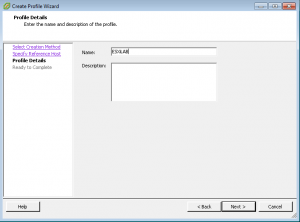
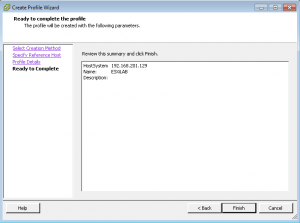
Enter the name for the profile. We are using “ESXiLAB” in this guide.
We also need to configure the host profile to send their core dumps to the dump collector.
To configure using Host Profiles:
- Connect to vCenter Server using the vSphere Client.
- Click Home and select Host Profiles.
- Create or edit a host profile.
- Select Networking Configuration.
- Select Network Coredump Settings.
- Specify the VMkernel network interface to use for outbound traffic,
such as
vmk0. - Specify the IP address and UDP port number of the remote network coredump server.
- Save and apply the host profile.
Within vCenter create your datacenter and create the HA cluster and give it a name. We will be using “HA-DRS” for the cluster name.
Attach host profile “ESXiLAB” profile to the “HA-DRS” cluster. Right click on the cluster, host profile and attach.
Now go back to the Host Profile screen (Home, Host Profiles)
Select the “ESXiLAB” profile and click Attach Host/Cluster
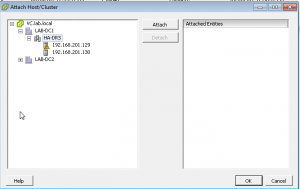
Now select the “HA-DRS” cluster and click attach.
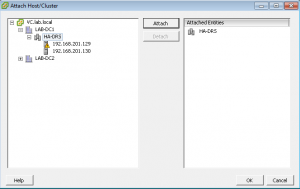
Click OK and we are done with the Host Profile.
Now we are going to create an ESX software depot for our image. Read here for more info on this. We will also be adding the host profile to get applied to the hosts as they are added to the cluster.
Add-EsxSoftwareDepot http://192.168.201.5:80/vSphere-HA-depot
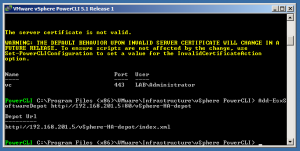
New-EsxImageProfile -CloneProfile ESXi-5.1.0-799733-standard -name ”ESXiHA”
Add-EsxSoftwarePackage -ImageProfile “ESXiHA” -SoftwarePackage vmware-fdm (This is going to attach the host profile that we created called “ESXiHA”.
Now we need to remove the first rule that we created to begin creating the host template.
Run this command within PowerCLI Remove-DeployRule -DeployRule FirstTimeBoot -delete
New-DeployRule –Name “GoldBootRule” –Item “ESXiHA”, ESXiLAB, HA-DRS
--Pattern “model=VMware Virtual Platform”
Add-DeployRule -DeployRule “GoldBootRule”
We are now ready to boot our ESXi hosts again and they will boot via AutoDeploy, get added to the “HA-DRS” cluster and have the “ESXiLAB” host profile applied to them.
Comments