How to install vShield 5.1 Manager, App and Endpoint
In this guide we will be installing the vShield Manager appliance and the installing vShield App and vShield Endpoint (Now called vShield Networking and Security). You can reference the VMware quick start guide here.
The first step in this is to install the vShield Manager appliance. The vShield Manager is the core centralized network management component of vShield. The vShield manager can be installed on a different host than your vShield agents. This is a good candidate to run in a separate management vSphere cluster, but not required. There is one vShield Manager required per vCenter instance.
Taken from the quick start guide here are the hardware requirements for the vShield components.
- Memory
- vShield Manager: 8GB allocated, 3GB reserved
- vShield App: 1GB allocated, 1 GB reserved
- vShield Edge compact: 256 MB, large: 1 GB, x-large: 8 GB
- vShield Data Security: 512 MB
- Disk Space
- vShield Manager: 60 GB
- vShield App: 5 GB per vShield App per ESX host
- vShield Edge compact and large: 320 MB, lx-Large: 4.4 GB (with 4 GB swap file)
- vShield Data Security: 6GB per ESX host
- vCPU
- vShield Manager: 2
- vShield App: 2
- vShield Edge compact: 1, large and x-Large: 2
- vShield Data Security: 1
So let’s deploy the appliance now.
Open the vSphere client and select file, Deploy OVF Template… And follow the screenshots.
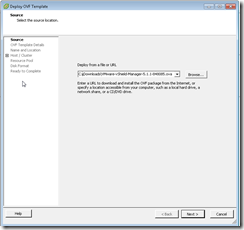
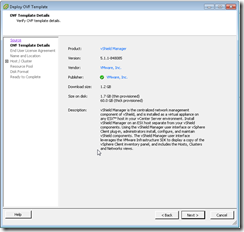
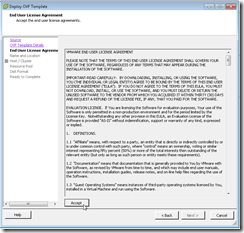
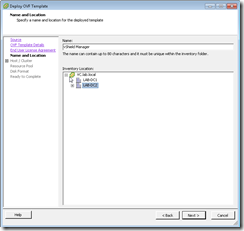
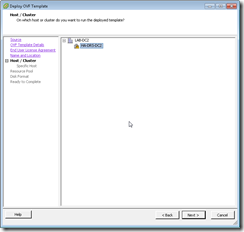
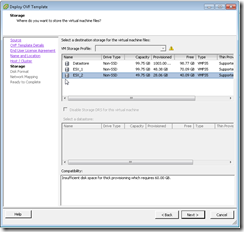
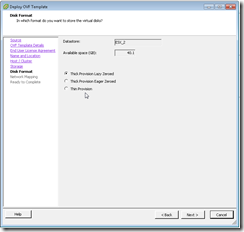
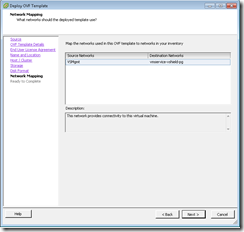
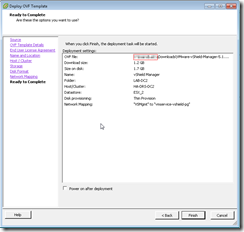
Now the appliance will be deployed.
Once the appliance has been successfully deployed go ahead and power it on. And we will now configure the appliance to begin using it.
Once the appliance has booted up you will need to login at the console.
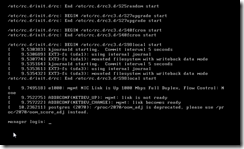
The default username is admin and the default password is default.
Now at the command prompt type enable and enter the password from above again.
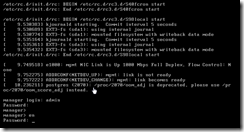
Now at the manager prompt type setup.
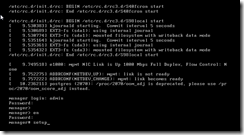
Now you will need to enter the following information
- IP Address
- Subnet Mask
- Default gateway
- Primary DNS IP
- Secondary DNS IP
- DNS domain search list
And then save the new configuration and reboot the appliance.
After the appliance reboots open your web browser up and connect to https://appliance_ip
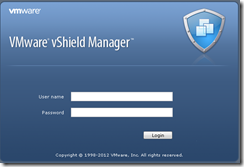
Login with admin and password is default.
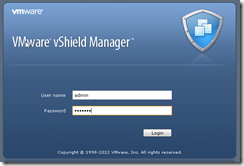
Click on settings and reports.

The first thing we will configure is the Lookup Service

Click edit and enter the following information
Lookup Service Host (Whatever server is configured as your SSO server for vCenter Server 5.1)
Port (Leave default)
SSO Administrator Username (admin@System-Domain) (This is the default unless you changed it during the SSO installation)
Password (Use the password that you configured during the SSO installation when installing vCenter Server 5.1)
***NOTE*** If you are using the vCenter Server Appliance you will need to check this link out for the password of admin@System-Domain. William Lam’s post saved me on this.
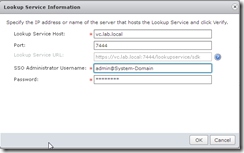
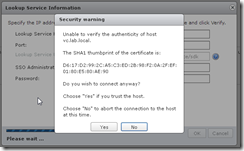
Click OK and then choose “Yes” to accept the certificate
Here is what the Lookup Service will look like when complete

Now we will configure the vCenter Server section

Click edit and enter the following information
vCenter Server (IP or hostname of your vCenter Server)
Administrator Username
Administrator Password
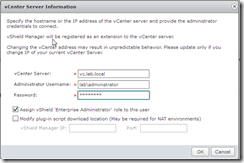
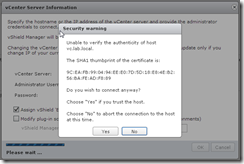
Click OK and then choose “Yes” to accept the certificate
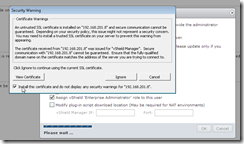
Check Install this certificate and then click ignore
Here is what the vCenter Server section will look like when completed

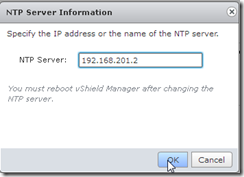
Now we will configure the NTP Server section

Enter IP or hostname of NTP server and click OK
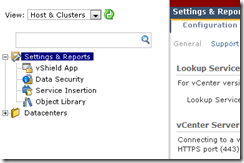
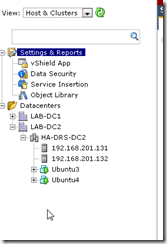
Now we have completed the initial setup and your settings and reports will look like below which will show your clusters, hosts and vms.
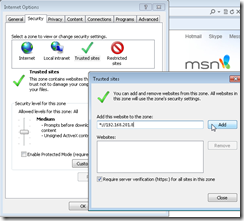
Now open up Internet Explorer and add *:\\vshield_IP to your trusted security zone. If you do not do this you will not be able to open up the vShield pages within vCenter.
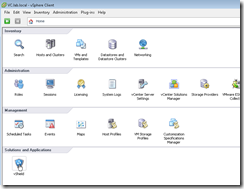
Now within vCenter Home screen you will see vShield listed at the bottom
Click vShield and you will see the same login window as you did when using your browser
Username admin and the password is default
Once logged in you will see the same interface as you did when using your browser
Select datacenters

Select your first host in the correct datacenter cluster that you want to install vShield App on and select install vShield App. When you install vShield app it will deploy a vm instance to the host that will control all vms networking that are part of vShield. You cannot shut down these vms unless the host is in maintenance mode. This is for obvious reasons.
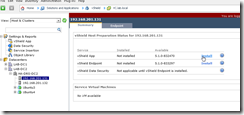
Now select the datastore to use for the vShield App appliance, the management port group to use for the appliance, enter the IP address, Netmask and Default Gateway to use.
Click Install

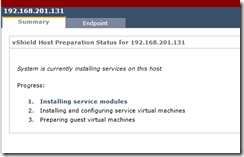
The installation is complete
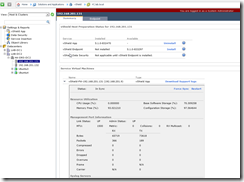
Now install vShield Endpoint
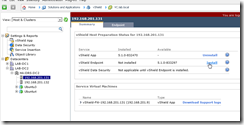

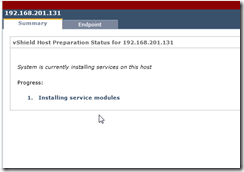
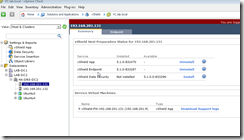
Now follow the same process for vShield App and vShield Endpoint on each host in your cluster.
That is all for the initial setup. Now you can click through some of the sections within vShield and see additional areas that will need to be setup when you are ready to start creating firewall rules and etc. But for this is it for this guide. I will be creating another guide for further configurations and use very soon. Which will include configuring the vShield Edge devices. These are external connections within the datacenter.
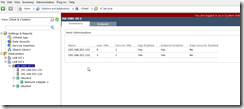
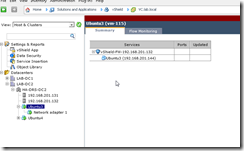
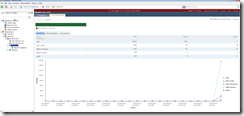
Below are some additional screenshots of information contained within vShield. You should also start seeing some traffic details starting to populate.
