Collecting Netflow and Sending to Solarwinds NTA
If you are interested in collecting, viewing and inspecting Netflow data like I am, then you will be interested in this. Netflow gives you deep level inspection into your network traffic such as source and destination of traffic, protocols and types of service, plus much more. Why is this valuable information? Maybe you are interested in the different types of traffic that are floating around on your network or possibly you are getting reports of slow network connectivity by users. So how do we get this Netflow data? First off your network devices must support exporting Netflow data to begin with, sort of anyways! This goes for any network switches, firewalls and even vSphere. The second part of gathering Netflow data is that you must have a Netflow collector installed on your network, NTOP is a good open-source Netflow collector but it loses all of it’s data when rebooted; however, lately I have been doing some deep level testing with several of Solarwinds products (SAM, NPM, Virtualization Manager, NTA and Storage Manager); in particular, Solarwinds NTA (Netflow Traffic Analyzer). This product provides an unbelievable level of detail and is visually pleasing as well. One other thing about this product is the integration between their other products which provides a seamless view into your environment. Instead of jumping between different products that you may use and not having any sense of correlation between different elements in your environment.
So assuming that you are running a physical and virtual environment like I am, setting all of this up can be somewhat of a challenge. In my lab I am running a Cisco 3750G 48TS switch stack, physical PFSense firewall and three vSphere 5.5 hosts running between 30-40 VMs at any given time. So with my setup the first challenge is that my Cisco switches do not support exporting Netflow, obviously your environment may be different. So in order for me to collect netflow data from my switches you can take a look here on how to create a RSPAN port mirror and send that data to a vDS (vSphere Distributed Switch) port. The difference in this article compared to the link above will be that we will not be installing or using NTOP but instead on our VM we will be using nProbe (created by the same people who create NTOP). nProbe will be acting as a Netflow proxy in our setup for each device that we will be collecting Netflow data from and then forwarding onto our Solarwinds NTA. nProbe is not a free product but so far it is well worth it. There are several linux open-source (fprobe, ipt-netflow and pflow) Netflow forwarders but I have not had good success yet using with Solarwinds but I will be doing some additional testing on those as well in the near future.
Installing nProbe is fairly straight forward but configuring it is a little bit tricky. I chose to install nbox as well to have a good web interface to configure nProbe but you can also run it from command line if you would like to as well. Seeing as I set mine up on Ubunutu 12.04 x64 I followed the process here to add the apt repository to simplify the installation. However I did not install everything as the link above specified. Below are the commands that I ran.
sudo bash
/bin/echo -e "deb http://www.nmon.net/apt x64/ndeb http://www.nmon.net/apt all/" > /etc/apt/sources.list.d/ntop.list
apt-get update
apt-get install pfring nbox nprobe
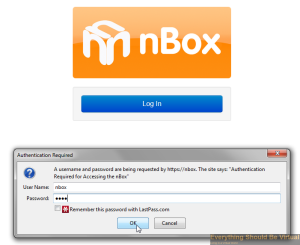
Now you should have a working web ui for nbox and you can connect by using your browser of choice and connect to https://ip.or.dns.name.

Click Log In (The default username/password is nbox/nbox.)
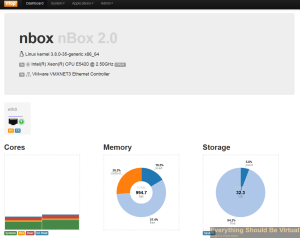
You will now be presented with the following UI.
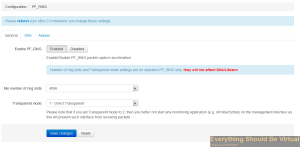
We will now enable PF_Ring.

Set to enabled (We will reboot after we configure nProbe).
Now on to configuring nProbe.
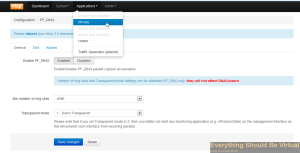
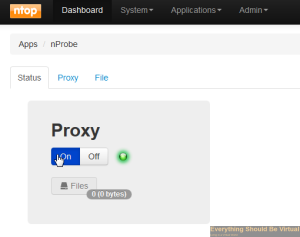
Do not turn the Proxy on at this point.

We will be configuring as a Proxy so click on Proxy.
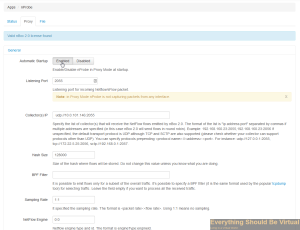
Click Enable to enable automatic startup. Enter 2055 for the Listening Port. (This is what will be capturing from our other devices on the network) Enter your Solarwinds NTA address and port (default is 2055) for the collector(s) IP: x.x.x.x:2055
Now under Flow Export Format choose v5.

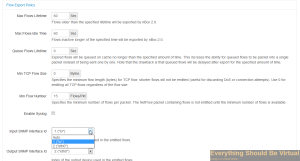
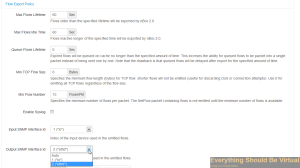
Now click on Flow Export Policy and scroll down and change the Input SNMP Interface ID from “Auto” to “lo” and also change the Output SNMP Interface ID from “Auto” to “eth0”. (These are very important!)
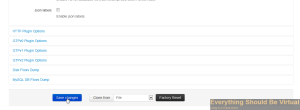
Now scroll to the bottom and click “Save Changes”.
We are now done configuring nProbe and need to enable it and then reboot. So click on Status and click “On”.
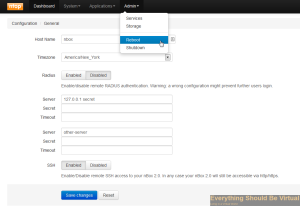
Now select the Admin dropdown and click “Reboot”.
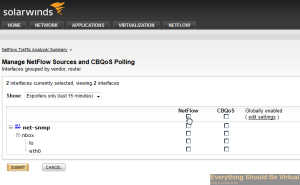
Now you can head over to your Solarwinds NTA and setup your netflow node.
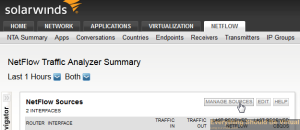
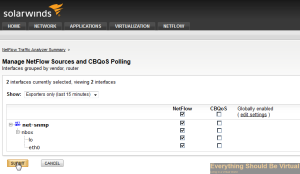
And if you followed the link above about setting up RSPAN Port Mirroring you will likely start seeing some data flowing in.
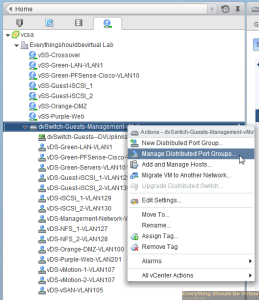
Now we will head over to our vCenter WebUI and configure netflow on our vDS port groups.
Go to the networking view, select your vDS dvSwitch and right-click and click Manage Distributed Port Groups..
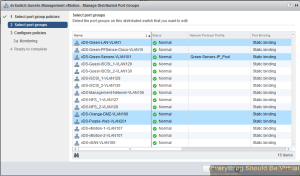
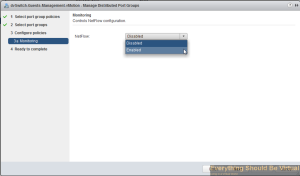
Select Monitoring and then click Next..

Now select the port groups that you want to collect netflow on and then click Next..
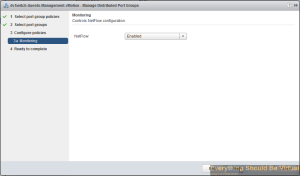
Select the drop-down and choose enabled..
Click Next..
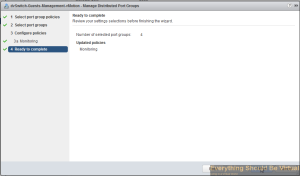
Click Finish..
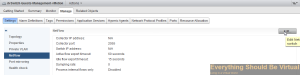
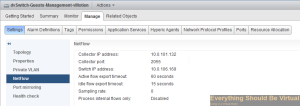
Now click on the manage tab within your vDS dvSwitch and select Netflow..
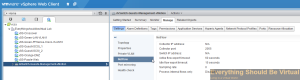
Click edit..
Enter the IP of your nBox server that we just setup above and leave the default port 2055. Enter an unused IP on your network preferably on your management subnet for the Switch IP address (This is the source your nBox server will see).
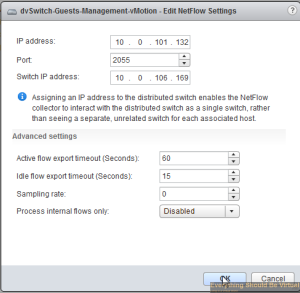
Complete..
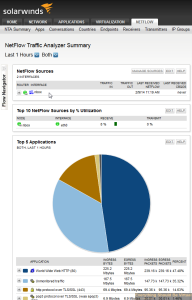
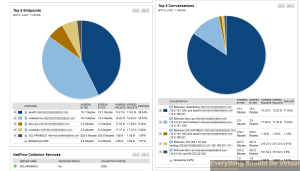
Now your configuration should be complete for gathering netflow from your Cisco switches and your vSphere vDS setup. Now nProbe will be forwarding all netflow data over to your Solarwinds NTA and after a bit of time you should now start seeing some nice graphs and data of traffic on your network.
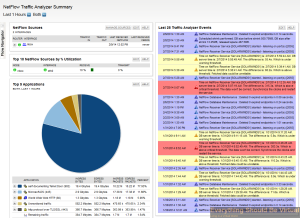
Now you can also add other devices on your network that export Netflow, just point them to your nProbe server and let nProbe do it’s job!
That’s it…Happy Netflow’n…
Enjoy!
Leave a comment